

I want to tell you about how I made this etsy shop. Maybe you want to make one yourself or you are just interested how it worked for me.
- It took TIME and A LOT of work
From the idea until the opening of the shop it took me several months of work, research and learning new skills. Although some youtube tutorials tell you that it`s so easy to make an etsy shop, which is basically correct, it seamed necessary for me to be well prepared. I try to break down the steps I took.
2. The IDEA
What are my skills, what do I like to do and what am I able to do at a certain (professional) level?
These questions must be answered first. My passion is photography. Well, the smartphones nowadays can produce good pictures and many people take pretty pictures as we see on instagram every day. But to print pictures at a bigger scale to hang on the walls, the quality of smartphone pictures is not enough.
3. Buy a professional camera and learn how to use it
After some research I bought a used camera in a specialized shop and some additional gear. I booked a course to learn how to use the camera. But then – you all know what happened in early 2020 – the course was cancelled.
So I took my camera with me on walks and bike rides and made photos, watched Youtube tutorials and read blogs. I tried to improve the quality of the photos. First it was very confusing what to look at. ISO, Focus, focal length, shutter speed and all the other terms were strange to me. Practise and research helped.
The next theme was editing. The camera takes photos in RAW format and they have to be edited. My camera is a CANON and it comes with editing software. Digital Photo Professional is not bad, it is easy to use and works well for me.
So one day comes the moment of hard truth when you edit photos of days and it comes out they are not sharp. Nothing in the photo is in focus. No way to use it. Pretty pictures of moments you cannot repeat. This happens. S..t happens. Epecially when you are so bold to use the manual mode of the camera when your skills are not ready for that. Haha.
Over the months I learned the basic skills and how to use light and frame to make my photos more interesting. I mostly take pictures of landscape and nature, architecture and travel pictures. Colorful and not too much edited photos are my thing. You have to take MAAAANY photos to have a few really good ones.
4. Marketing and Social Media
I use Instagram since 2014, this was the time I had my first smartphone! So I knew that I had to do some marketing on Social Media to be successful.
Marketing was my personal problem. I didn`t really like the idea of praising my work and making people buy it.
Time to do my work, to take a course and do my personal mental work.
The course was informative, especially the course instructor Sarah Halbeisen https://show-and-tell.at/who knows a lot about marketing and is a very nice person.
My personal mental work took quite a time and in summary it can be said, therefore, that the confidence comes when you are satisfied with your work.
5. What I prepared BEFORE I opened the Etsy Shop
I did a lot of research, because that`s my way doing things.
If you think about making an Etsy Shop, I suggest the Etsy help, they have a guide through the process, you can find it here https://help.etsy.com/hc/de/articles/115015672808-Er%C3%B6ffnen-eines-Etsy-Shops?segment=selling.
Also look what your competitors do! You want to do better than the others!
5.1. The name of the shop: the finding can be complicated or you make it easy and take your own name. Which I did not. Weigh the pros and cons. Check if your chosen name is availaible.
5.2. Create a logo: There are quick and easy ways to have a logo created, some of them are free and for others you don`t pay much. But, well, I never take the easy way. My motto is “do it yourself woman” and I created my logo myself, using the free software vectr – link is here https://vectr.com/ Vectr is easy to use, especially when you work with letters.
5.3. Profile picture: Not an easy one when you prefer to stand BEHIND the camera. I managed it with the help of my wonderful daughter. Edited and cut with Canon Digital Photo Professional, then exported as jpeg with the required resolution 500×500 px.
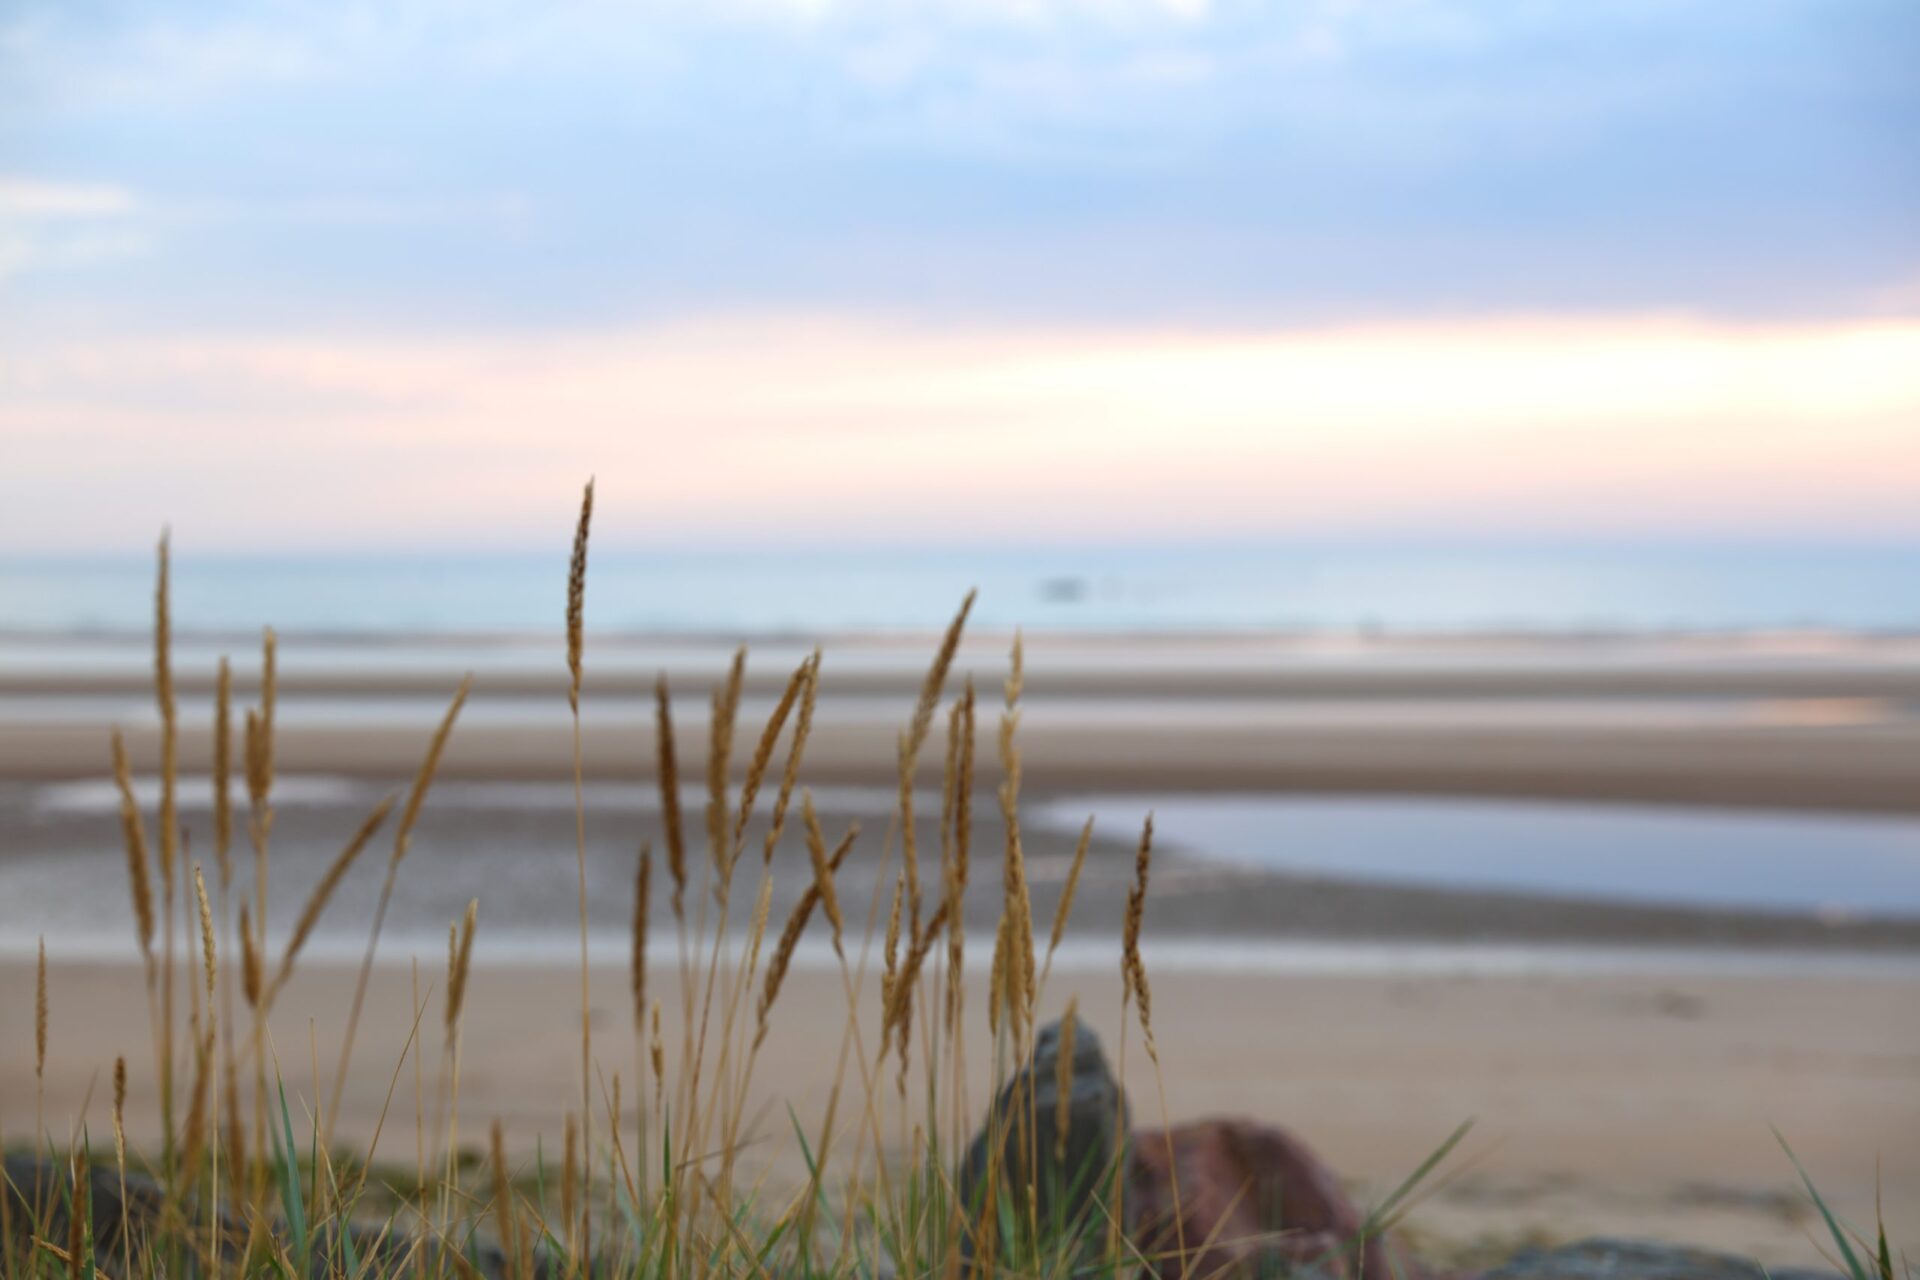
5.4. Shop banner: this is the shop window and should be created carefully. Until now I am not sure which texts or links to put in, so it is only a picture. One of my favourite photos, shown at the beginning of this post. The banner requires also a special format and the resolution 1600×400 px.
5.5. Texts for info box and shop profile: what you want to tell about yourself and your shop. Mindmapping is a good way. Write your thoughts in a word document, review it from time to time and add or cut.
5.6. Think through your workflow for selling your products: the time you need to produce, to ship, the general terms and conditions.
5.7. The items for the shop – in my case photos: choose, edit and make a list. Save the photos in separate files, one for printing with the highest solution and one for etsy with the recommended solution, 2000 px the short side , 72 PPI and not more than 1 MB. To save my work from theft, I decided to make mock-ups for etsy and photos with a watermark for my website.
5.8. How to make mock-ups: Well, I asked the internet. Haha. Most of the Youtube Videos specialize on free software, but I wanted to learn how to use Adobe Photoshop for a while. The moment to dive into Photoshop has come. It is absolutely possible to learn how to use Photoshop by yourself with the help of Youtube tutorials. But I am honest: for two days I sat in front of my computer and cursed. Myself, Adobe and the world in common. I would not say I am sure how to use photoshop now, but at least managed to make the mock-ups and gained some insight into the program. And most important: I lost the fear to start and use it.
I want to mention a thing I do when learning to use a new software. I take notes of the steps to have help for my memory when I use the software after a time and forgot what to do. Because I always forget the steps until I am well trained on the program.
5.9. Who makes the actual prints? My printer is not able to print Fine Art Prints of high quality and I am not willing to invest a lot of money in a professional printer before I have success with selling. This means I have to find someone to make the prints for me. This was not easy and sometimes when you think it is okay, your print company tells you they no longer offer what you need. Ouf.
5.10. Packaging material: Fine Art Prints and Photo posters must be well packed to arrive safely at the buyer. If you ship with postal service, you have to keep in mind the measurements and costs.
5.11. Shipping costs: Etsy wants you to offer free shipping. Weigh the pros and cons. If you offer free shipping, you have to add the shipping costs to the price, which makes your articles more expensive….
5.12. Calculation: set the price for your items. It is necessary to have ALL your own costs included and to add as much as you want to get out of your sales. It`s in your interest to earn money, but to make the items as cheap as possible for your costumers. Also keep in mind that Etsy charges fees for each item, each change, selling….
5.12. Legal regime: research the legal rules of your country about taxes, waste regulation, information privacy and consumer protection. You don`t want to have problems one day.
5.13. Prepare the texts for your items in a word document: title, description, tags, informations…
When you are sure in all these aspects, it is time for
6. Creating the actual Etsy Shop
Be sure to have enough time when setting up the shop and adding your items. Although I was well prepared, I sat more than four hours!
The process itself is easy, Etsy guides you through.
So, maybe you want to take a look at my shop here https://www.etsy.com/at/shop/PrintsAndThingsDmT or make a shop yourself?